
Retro Rock Garden Project!
Part 1. The Rocks
I clearly just can’t help myself because the build of Rock Garden No. FOUR at “Rockwood” American Bungalow has begun and I’m in my element! I do love a project, especially a New Year project to fend off the January blues. Fortunately I’m a highly motivated person and nothing gets in my way when I’m on a mission, so I am off and running and loving it already! I’ll be updating this blog as I go so please subscribe or just keep your eye peeled for updates. There’s tips and pics below and you can watch Part 1 of the Video here…
Choosing my Rocks!

Enjoying the Views across Monmouthshire
I headed to my lovely In-Laws farm in Wales to choose my new rocks from their literal Rockery Rock Mountain! I’m lucky that I have these at my disposal but you can find rocks in most local Garden Centres, certainly the bigger ones, or a really handy tip is to search Facebook Marketplace. I got some a few streets away last year, 10 rocks of various sizes, big and small, for only £15. You’ll pay £4-8 each for them at Garden Centres.
But honestly, I was spoilt for choice in Wales. That said, I knew was I was looking for and a few rocks caught my eye, some of them in really awkward places, but Hubby Adam obliged for the hard to reach ones - rather his toes than mine!!
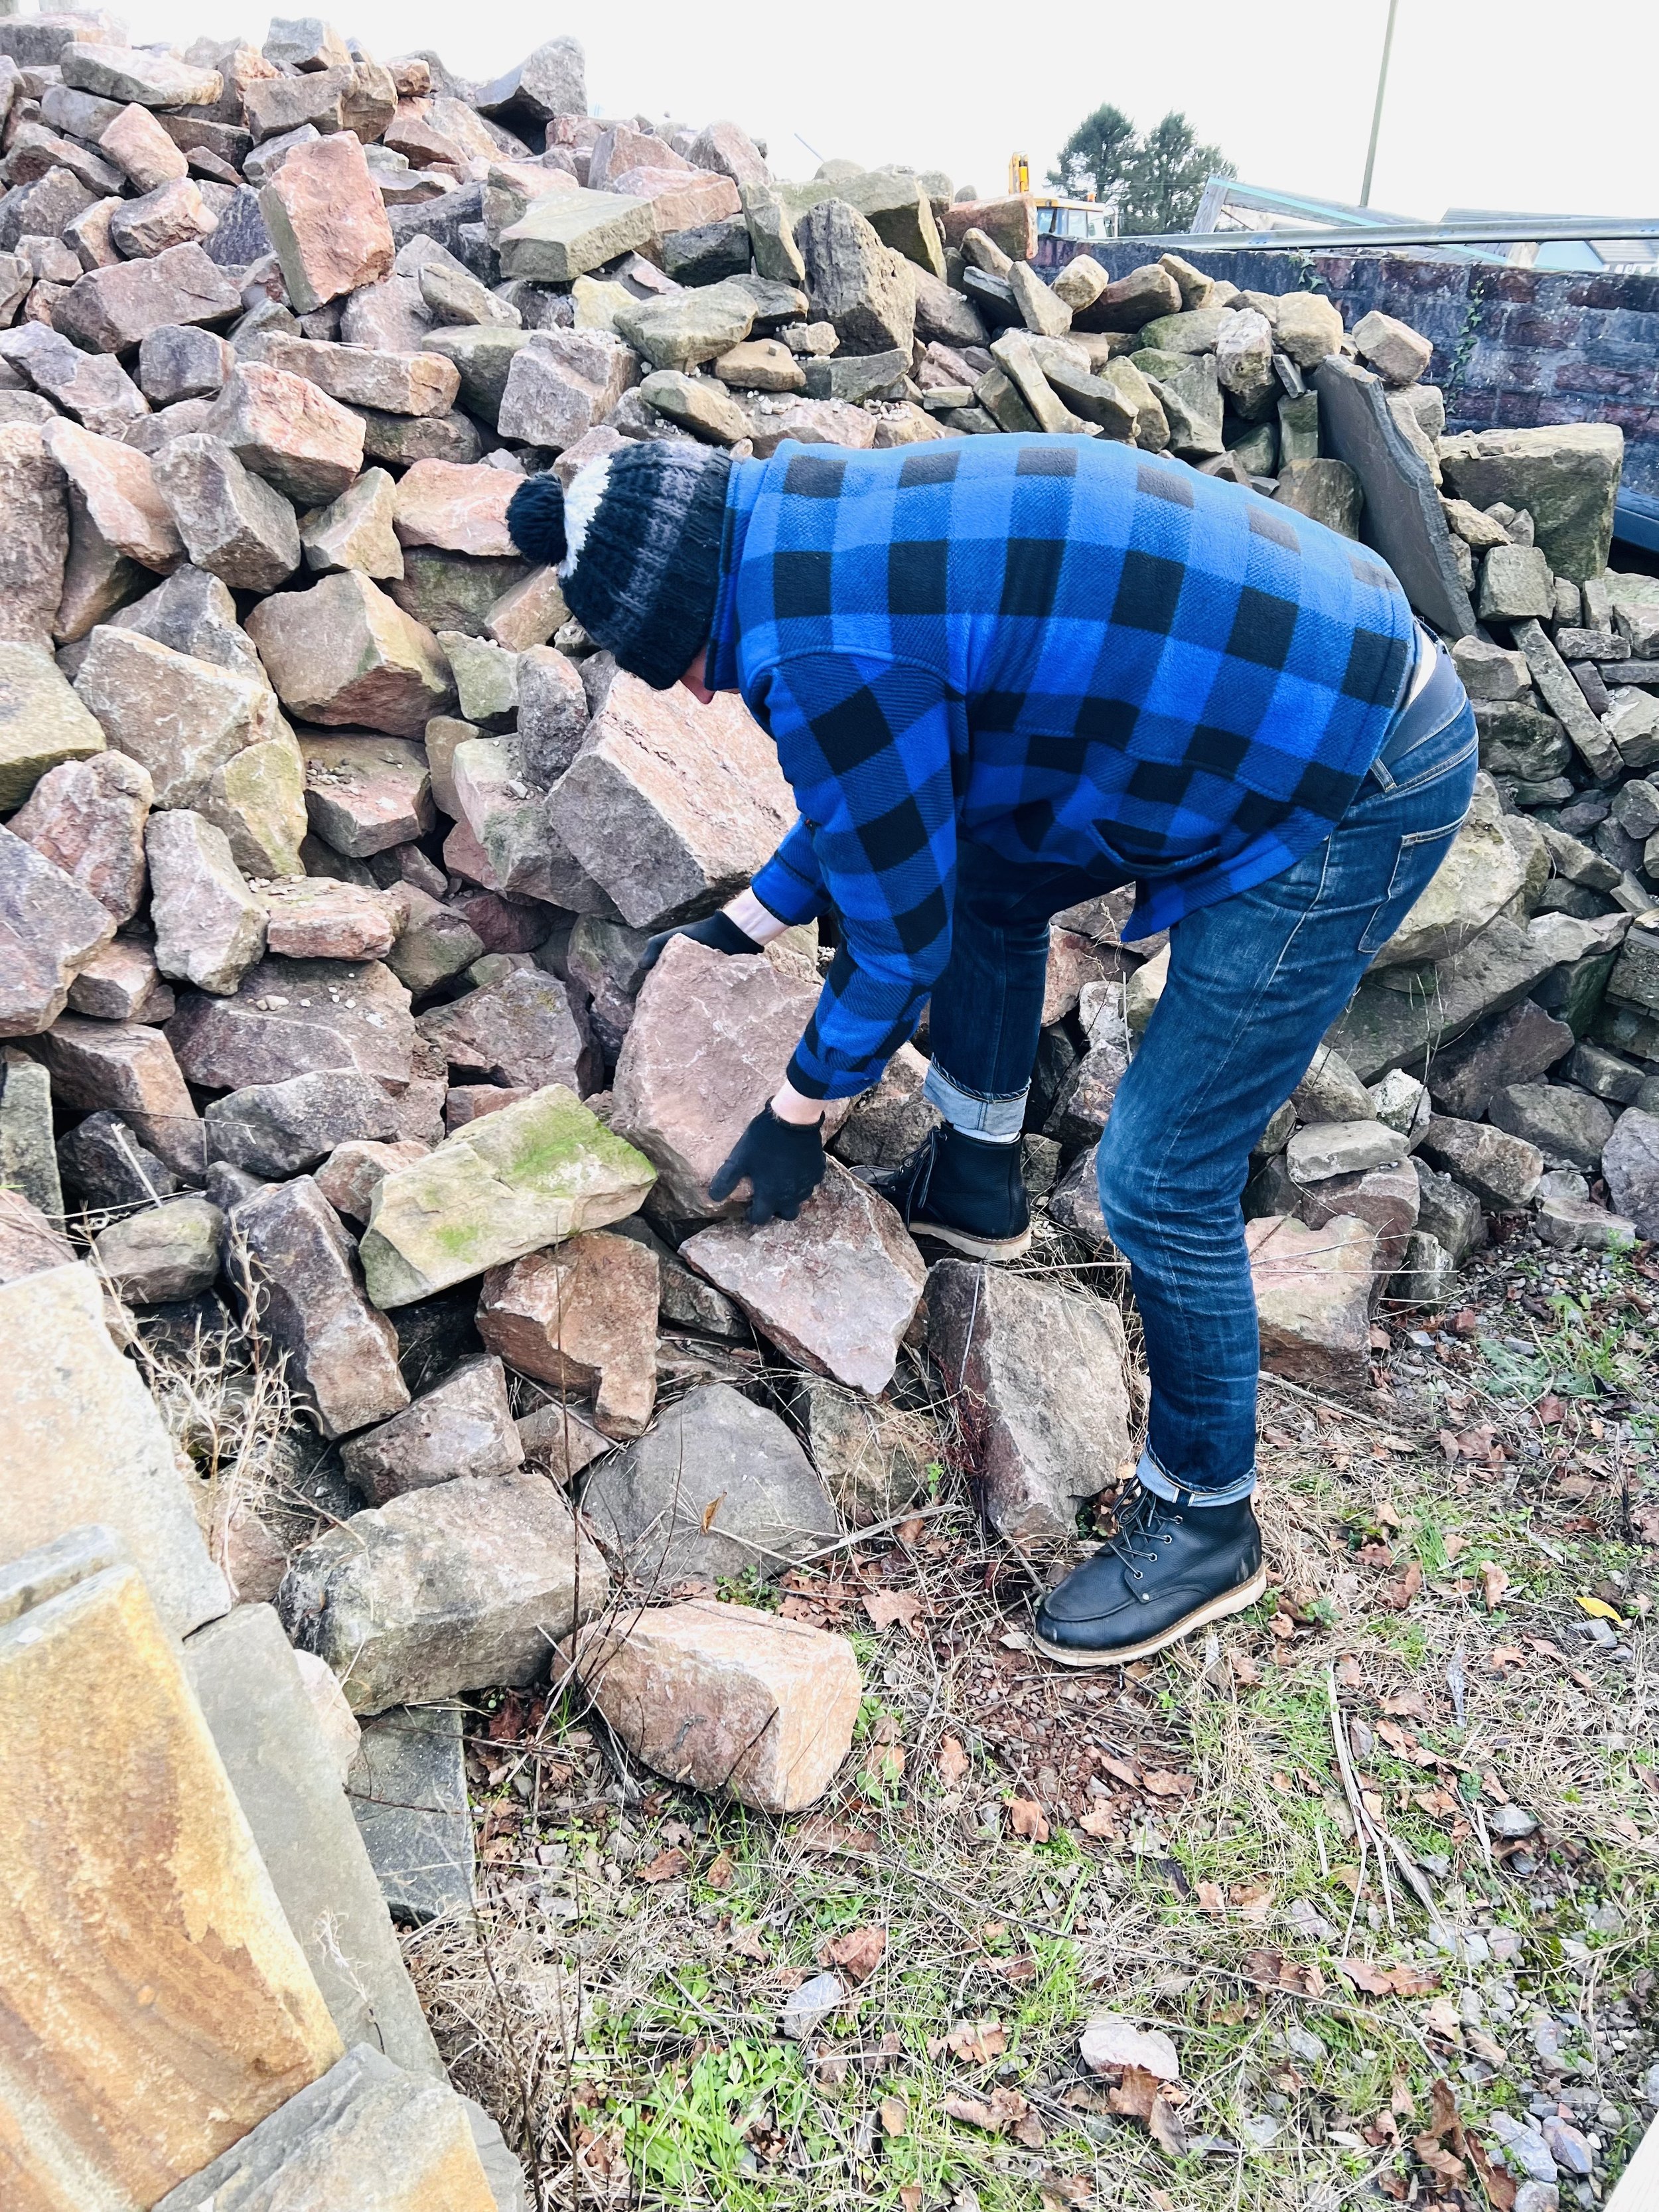
Hubby Adam came in handy!

I pulled my weight too!


The chosen Rocks!
The Glow Up!
This bit is so enjoyable to me, in part, because it’s a dirty job! The clean up is fun, a little bit time consuming too but trust me, the transformation is worth it. So with my Rocks safely delivered home, I set myself up in my cute little “Blue Peter Corner” and got stuck in. I choose to paint my rocks if I don’t like the natural colour of them and, in this case, they were a dirty pink or grotty grey colour. Our 60’s Bungalow was built with stunning London Bricks which have many colours, like greys and browns, running through them. The grey really pops against the house bricks and look fabulous with my chosen Evergreen shrubs. BUT, it is entirely a personal choice and if you do choose to paint your rocks like I do, you’ll need:
Wire Brush
Medium Paint Brush
Small kitchen scourer/sponge
Pot of Dark Grey Paint - cheap, washable interior paint is fine, no need for expensive exterior paint
Sample pot of light grey paint - these cost a couple of pounds and usually come with their own little brush
Suitable clothing (I’m usually in a Boilersuit of some description!)
Elbow grease!!
I give more detail in the video but here’s some pics to show the process…


I do love a latex glove
And here’s what they looked like after the Glow-Up! The light was different, hence the drastically different colour but the rocks below are a truer colour, they look great in the cold light of day!

Next up I will decide on the design and shape of my Rock Garden, commence cutting it out, build it up with soil ahead of positioning the rocks and, the best bit, selecting my shrubs and grasses!! I love that process, any excuse to visit a garden centre. Please subscribe below to the blog and to my YouTube Channel and stay tuned…
Part 2. Shape & Dig Day
So I spent some time deliberating over the shape of this Rock Garden. All of my Rock Gardens are unique and I wanted to make sure this one had it’s own shape and character. I eventually decided on a “Fan” shape so that the big Scotts Pine tree could take centre stage, because he’s a beauty.
I started by marking out the shape with tent pegs and a some rope…

Marking out the shape

The perfect fan shape
Then I started the big Dig, which was exhausting!

Half way through the dig

That’s the hard and dirty bit done!
Next up was tipping a few bags of fresh soil on the top and spreading it over the bed with my new Rake!! Honestly, the simple things in life make me very happy!

About to tip those bags of soil on the bed

And it’s all done, a blank canvas with which to create my Rock Garden

My “Comfort Boots”, goodness they’ve worked hard!
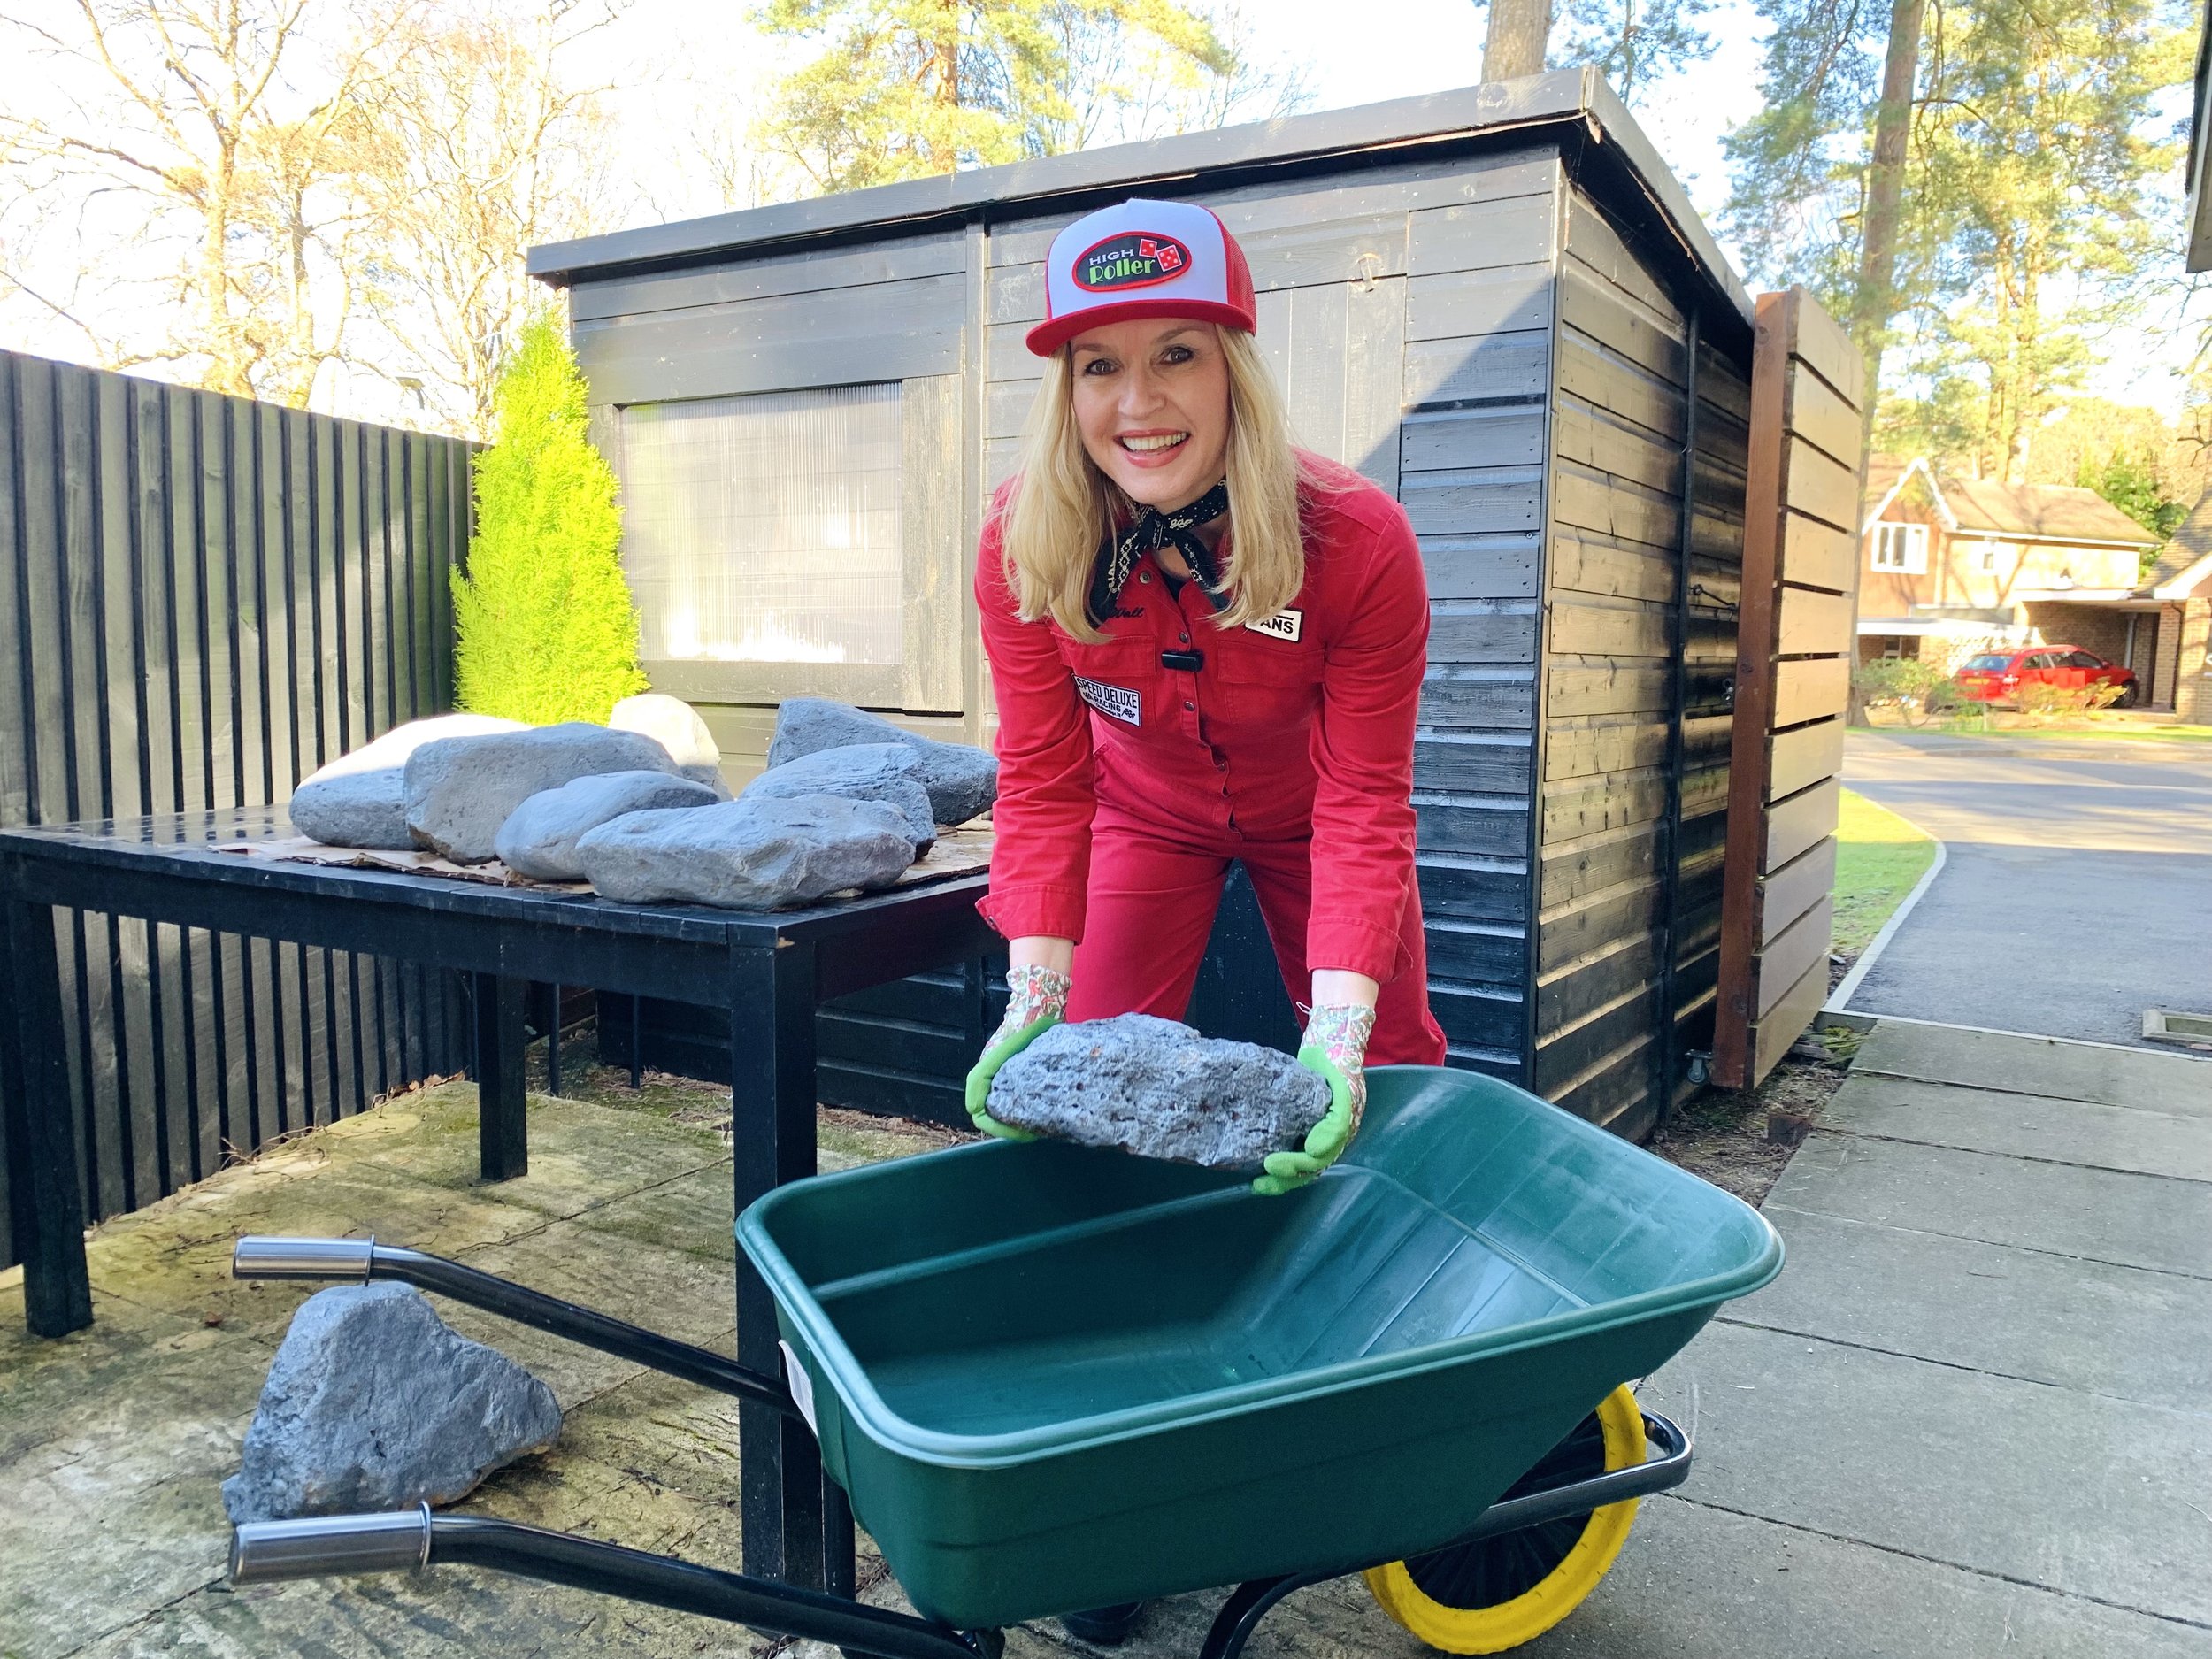
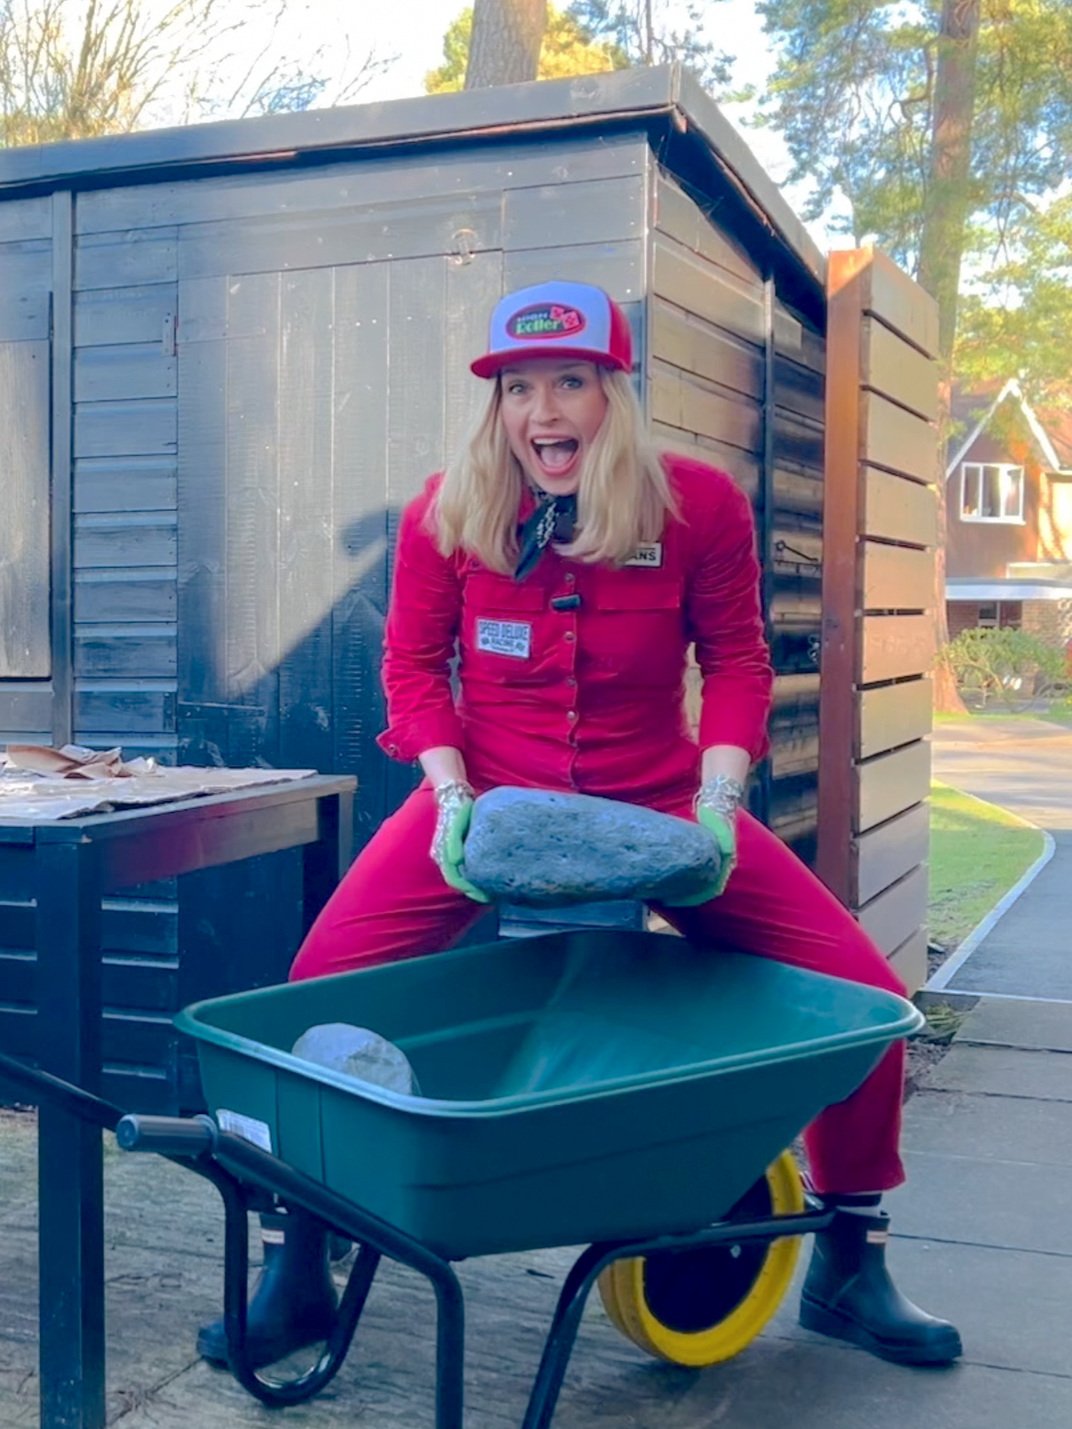
Part 3. Rock Shifting & Placing Day

Click above to watch the video!
What a fun day, although my joints did ache at the end of it! I’d been waiting for nice enough weather to do this part because as much as I like getting mucky, I don’t like doing it in the wet and cold because I’m a proclaimed fair-weather Gardener!

The Rocks are post Glow-Up and ready to hit the bed!
That was just a wee one!
No way to look “ladylike” when shifting big rocks!
New Wheelbarrow!

My new “Barra”

I’m not a Woman who treats herself to new shoes or handbags, no no, not me, I treat myself to rakes and gardening gloves and Wheelbarrows! So imagine the fun I had using my new Wheelbarrow, which I picked up at Longacres Garden Centre, to shift my rocks. It’s a plastic, which means there’s no clunking, denting or rusting and it’s got a cool spongey, non-puncture tyre. It’s also easy fun to “drive”, even full of heavy Rocks!

Catching my breath

That was a back-breaker!

Nearly done!
That’s Pt 3. done and dusted. The Rocks are roughly in place until I start choosing spots for my plants and then I’ll “shimmy'“ them around to make everything fit perfectly. Join me for Part 4 when I’ll be going to shopping to Longacres in Bagshot, a glorious garden centre if ever there was one.
Part 4. Plant Picking Day!

Click above to watch on YouTube
The best part, picking my Plants at Longacres! It really is a glorious garden centre and their choice of Evergreens is incredible. I favour Evergreens in my Rock Gardens so that they have “year round interest”. I know it’s just “nature” but I genuinely don’t enjoy the dead period over the Winter when flowers die off, but Evergreens just give me the loveliest view of my garden all year round, even on the grottiest of days. Plus the variety of “shades” of Evergreens to choose from is out of this world, I was literally spoilt for choice this day at Longacres and gravitated towards plants, shrubs and grasses that had “yellow and gold” tones, because I want this particular Rock Garden to be on the brighter side of green. My selection is going to look sensational once all my luscious Evergreen lovelies are planted!

I’d like to thank Longacres for sponsoring my Plants because my Rock Garden + Longacres is match made in Plant Heaven!

Starting out with an empty trolley…

Ending with a sensational selection of luscious Evergreens!
Part 5 - Let’s Get Planting!
So there you have it, the Retro Rock Garden Project is complete, finally! Bad weather and couple of colds got in the way but I got there in the end and I’m overjoyed with the results. I’ve really enjoyed sharing the process from start to finish and to see it in all its glory is hugely satisfying. I’ve learned a lot along the way, not least self-filming which is an art in itself and which has probably tripled the time it should have taken me to complete the Rock Garden, but it’s a skill I’ve got now and will come in handy for future projects I’m sure. I am fairly new to Gardening, my only formal experience is what I’ve learned in my own front garden over the last 2 or 3 years, (along with asking “daft” questions at the Garden Centre) so this project is less of a “how to” and more of a “how I do it” series and so far it’s worked, the majority of my plants, shrubs and trees have thrived not died so I’m really happy about that!
Thanks for watching, I hope you’ve enjoyed the series and will subscribe to my YouTube Channel and Instagram (for my Home & Garden) to keep up with my future Rock Garden Shenanigans. Skip to the bottom for news about my new venture…
I’d like to thank Longacres Garden Centres for supporting me with this project and sponsoring my plants. It was a massive pleasure choosing them because the selection they have there is just marvellous! Here’s some photos…


Mission Accomplised!

Rockwood Rockeries
On the strength of my own glorious Rock Gardens and the videos I’ve shared, I’ve had a few enquiries about commissions, which is unbelievably exciting, so I’ve set up my new venture called “Rockwood Rockeries”, named after my own house. It’s early days but exciting days so please give me a follow in Instagram and a like of Facebook to keep up with my projects, which I’ll be documenting. Thank you and catch you soon!